
Kill Block is a 500+ configuration training facility. How Slabs and Combos work, the weather system and how to win Gunfight on it.
MW4 Kill Block: Slabs, Combos and Tips
Kill Block is the West Bridge Advanced Military Training Facility, an off-the-books live-fire site where the map physically rebuilds itself between matches. Two End Slabs and one Central Slab bolt together into a Combo, more than 500 configurations are possible at launch, and the whole battleground is roughly the size of the Modern Warfare (2019) map Shoot House. Gunfight 3v3 and Gunfight 10v10 ship on it, with more core modes planned after launch.
- Three Slabs form one Combo, and a Combo is the entire map a match is played on.
- Each Slab is one third of the playspace, and every match crosses all three.
- Combos are always the same rectangular footprint, so the size never changes, only the layout.
- Weather is simulated: rain and snow change visibility, and your weapon reacts to it.
Official source: Modern Warfare 4 Multiplayer: Kill Block Intel - the facility name, the Slab system, the configuration count and the weather behaviour in this guide come from the official deep dive.
What Kill Block Is, and Where It Came From
Kill Block was built as a training set, not a battlefield. The official description calls it a full-scale tactical set: mocked-up streets, compounds and urban blocks assembled from shipping containers, timber-framed structures and temporary facades, dressed to look like a real operational environment. It entered the Open Beta as the home of Gunfight.
The point of the place is that you cannot memorise one route. Slabs are repositioned between matches, so sightlines, cover placement and engagement pacing change constantly. Every Slab is self-contained, but each one has openings on its long edges so that traffic flows from one Slab into the next, and some sightlines carry across an adjacent Slab or occasionally across the entire map.
Slabs and Combos: How Each Map Is Assembled
There are always exactly two End Slabs and one Central Slab per Combo. Each End Slab is one third of the playspace and connects to one side of the Central Slab.
- End Slabs: teams enter through an infil armory room into their own End Slab, and a perimeter wall gate closes behind them at the start of a match. Those gates are labelled A or B, sit on the outer wall directly opposite one another, and in non-Gunfight modes players spawn in and around the back portion of their End Slab.
- Central Slabs: linked to an End Slab on each side, this is where the scenery is built for combat arriving from multiple angles, with commanding vantage points, chokepoints and defensive positions. Teams move freely between all three Slabs.
The engineering behind that is worth knowing because it explains what you can and cannot rely on. Eight massive concrete towers around the perimeter house the electronics, motors and pulley systems. The three steel-reinforced Slabs sit on rail-mounted wheel assemblies called bogies, which travel on tracks embedded above and below the training area. When the map changes, the active Slab decouples, is slowly lowered by electric motors into a dedicated storage chamber beneath the arena, and a synchronised motor array switches the rail network to a different Slab, which is winched up and locked into place.
The Slab examples below are a selection of the dozens available at launch, and the names are flagged as subject to change before launch. The map does tell you which Slab you are standing on: most Slabs have their name sprayed on a wall, and the names appear during the infil sequence as the map reconfigures.
| Slab | Type | What it looks like |
|---|---|---|
| Ambush | Central | A slice of the classic Call of Duty 4 map: a convoy-clogged main road, blown-out pre-fab buildings either side, elevated sniper nests looking onto both End Slabs |
| Killhouse | End | A section of the Call of Duty 4 map with a central kill box, gabions at the corners of prefab walls and gaps you can climb over |
| ME-Town | Central | A dirt courtyard kill box ringed by four prefabricated structures, some with interior and rooftop space for overwatch |
| Snow Block | End | A maze of stacked gabion walls of varying lengths, open cargo containers and concrete blocks |
| Blacksite | End | Three prefabricated structures with open access between them, mud and grass, a rusted van, a cargo container and stacked gabions |
| Trench | Central | Sunken mud walls and pill boxes, sandbags, tyres and wooden trusses, with an exposed middle full of concrete barriers |
The scenery inside them is deliberately dense: parked trucks, burned-out tanks and cars, stacked gabions, live-fire training rooms, prefabricated multi-level buildings. Some doors can be shot open, some can be barged through, and some can be opened slowly if you want to stay quiet.
The perimeter wall is divided into labelled sectors: six A and six B sectors along the longer north and south walls, and two C and two D sectors on the shorter east and west walls, sitting between the two entrance gates. Each sector's letter and number is painted at intervals around the wall, so when a teammate calls "B4" you can locate it without opening the map. That is how the facility is meant to be called out.
The Weather System: Ice, Wet Sheen and Shifting Sightlines
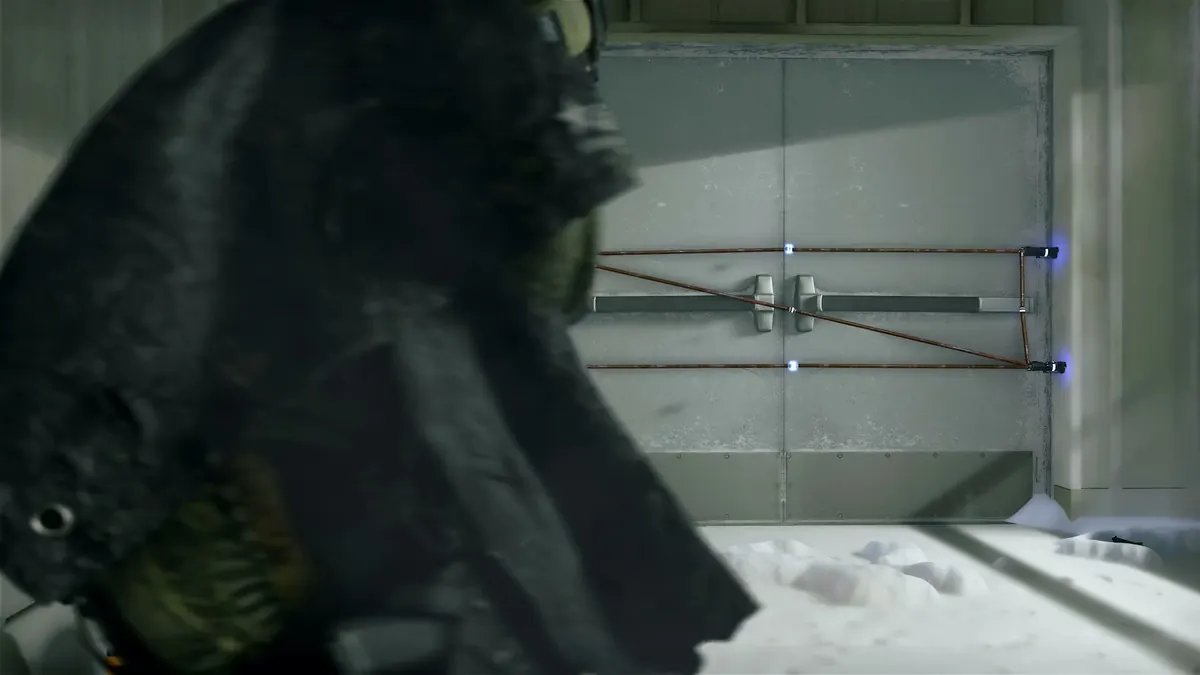
Certain Slabs are fitted with military-grade weather simulation arrays plus powerful fans that push misting water or snow across the whole Slab. Conditions move between clear skies, rain and snow flurries, which changes visibility and alters sightlines mid-match.
The mechanic that catches people out is the weapon effect. Ice particles or a wet sheen build up on your gun while the weather is running, and the buildup clears when you swap armaments or reload, so a long angle you were holding can start degrading mid-fight. Weather also changes how much you should trust cover: a flurry on a Central Slab can hide a push across a courtyard that would be suicide in clear conditions.
Legacy Slabs: Crash, Storage Town and Shoot House
Most Slabs are entirely new, but some recreate iconic locations from Modern Warfare history. The official deep dive names three: Crash from Call of Duty 4: Modern Warfare (2007), Storage Town from Call of Duty: Warzone's Verdansk map, and Shoot House from Modern Warfare (2019). The August Call of Duty: NEXT post also lists Highrise among the recognisable elements that appear in randomised placements each match.
Familiarity is a trap as much as a gift. These Slabs are recontextualised by whatever is bolted to either side of them, so the Crash you remember plays differently when it is an End Slab feeding into an unfamiliar Central Slab. The routes you know still exist, but the traffic through them does not arrive from the same direction.
The July deep dive calls it the West Bridge Advanced Military Training Facility, while the August NEXT post shortens it to the Westbridge Training Facility. Both refer to the same place, codenamed Kill Block. Slab names are also flagged as subject to change before launch.
Gunfight on Kill Block, and the Modes Coming Later
Kill Block launches with expanded Gunfight: the returning 3v3 and the new 10v10 variant. Both are single-life, both hand every player the same randomised loadout, and both reconfigure onto a new Combo with a fresh loadout every two rounds, with teams swapping spawn sides after the first round. If the round timer runs out with both teams alive, an Overtime Flag deploys and the round is decided by capturing it or by holding the health advantage. The Gunfight guide walks through the full round structure.
Kill Block is not Gunfight-only in the long run. Activision describes the facility as a modular combat platform built to support additional core Multiplayer modes after launch, with Killstreaks supported, and says Search and Destroy and Domination were already being put through their paces on it. No date has been given for those modes arriving on Kill Block, so treat any specific season claim as unconfirmed.
Official source: Modern Warfare 4 Open Beta: Maps and Modes - the Gunfight round rules and Overtime Flag summarised here are described in full in this official guide, alongside the two Kill Block Gunfight variants.
Two practical notes for your first session. First, the map's full movement suite applies here, including the climbing and pipe mechanics, so rooftops, container tops and upper balconies are real positions rather than decoration, just remember that height trades cover for sightlines. Second, Kill Block is the fastest place to learn the weapon roster, because everyone receives the same random guns. The MW4 weapons list covers what is confirmed for launch, and the full maps list shows what is waiting outside the facility.
FAQ
What is Kill Block in MW4?
Kill Block is the codename for the West Bridge Advanced Military Training Facility, a modular Multiplayer battleground where the map reconfigures between matches. It hosts Gunfight 3v3 and Gunfight 10v10 at launch.
How many Kill Block configurations are there?
More than 500 are possible at launch, according to Activision's July deep dive. Each configuration is a Combo made from two End Slabs and one Central Slab.
How big is Kill Block?
The entire Combo is roughly the same size as the Modern Warfare (2019) map Shoot House, and the footprint is always the same. What changes is the layout of the three Slabs inside it.
Does Kill Block have weather?
Yes. Certain Slabs have weather simulation arrays that can produce rain or snow, which changes visibility and sightlines. Ice or a wet sheen also builds up on your weapon until you swap guns or reload.
Are old MW maps in Kill Block?
Three are confirmed by name: Crash from Call of Duty 4 (2007), Storage Town from Warzone's Verdansk, and Shoot House from Modern Warfare (2019). The August NEXT post also mentions Highrise appearing in randomised placements.
Related Guides
- All MW4 multiplayer modes - the full launch list, including which modes get Hardcore variants.
- Gunfight guide: 3v3 and 10v10 - the two-round Combo rotation and the Overtime Flag explained properly.
- MW4 multiplayer maps list - the 12 Core 6v6 maps and the official tips for each.
- MW4 weapons list - what you will actually be handed on Kill Block, and which guns are still unannounced.
- Combat Outpost Ground War guide - the opposite end of the scale, 24v24 with tanks and airstrikes.
More Modern Warfare 4 Guides
The Modern Warfare story so far - Urzikstan, Task Force 141, Shepherd's betrayal and Makarov - recapped before you start MW4.
Operators and Killstreaks are now part of every loadout. How to build a Modern Warfare 4 class slot by slot, and what changed.
How DMZ works in Modern Warfare 4: deploying into Hajin, what to loot first, how the threat system escalates and making your first extraction.
Printer resources, ingredients and recipes in MW4 DMZ, the known first recipes with their exact costs, and what each FOB upgrade does.
DMZ early access opens October 20 for digital pre-orders. What you can do in the three days before launch and what carries into the full game.
Every Forward Operating Base station in MW4 DMZ, the level each one unlocks at, and how the Stash, Gunsmith and Vendor actually work.
Every Hajin point of interest in the Modern Warfare 4 DMZ map, with the expected threat level and the loot each type of building holds.
How to hunt Lieutenants and Commanders in MW4 DMZ, what Boss Board intel costs, and why picking up Dog Tags broadcasts your position.